
Below is given steps by step instruction for download wordpress and install wordpress.
How to download WordPress?
1. Go to the site WordPress.org for get latest version of wordpress.
2. You will find button “Get WordPress” on top right of site click on that.
3. You will redirected to page WordPress.org/download/.
4. Click on Download Wordpres button.
5. You will ask to save zip file. Select path wherever you want to save.
6. Click on save to save it.
7. Download process is complete now.
How to Install WordPress?
1. First create a folder with name “wordpress-tutorial” in your localhost setup (XAMPP or WAMP).
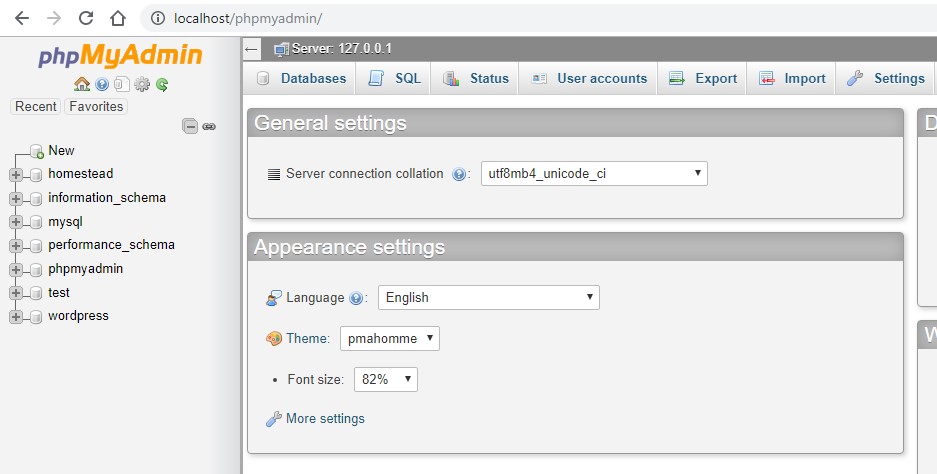
2. Create a database for wordpress go to your localhost phpmyadmin http://localhost/phpmyadmin/
3. Click on databases.
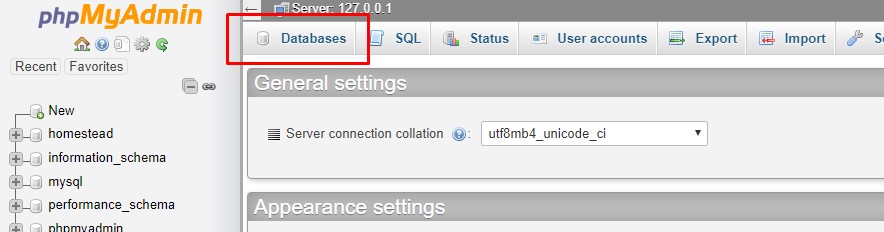
4. Enter database name “wordpress-tutorial” in “Database name” field and click on “Create” button.

5. Database with name “wordpress-tutorial” will be created.
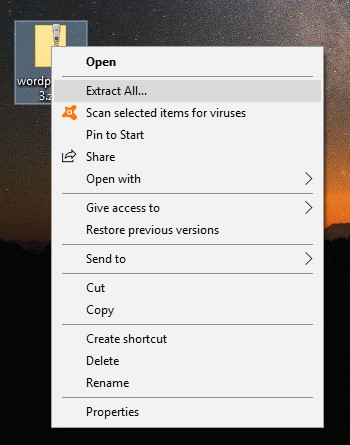
6. Go to the directory where you have download wordpress.
7. Right click on zip folder and click on extract all.
8. Now open extracted folder, you will find folder named with “wordpress”.
9. Open this wordpress folder. You will find below file list.
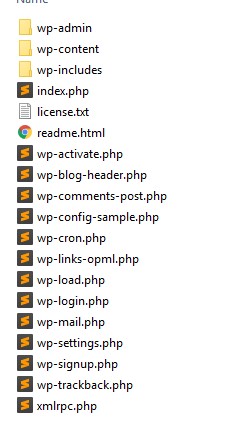
10. Select all this file and copy it and paste it to new folder created “wordpress-tutorial” in your localhost server (XAMPP or WAMP).
11. Now open browser and open path with https://www.webdeveloperguide.in-tutorial/.
12. You will redirected to below screen.
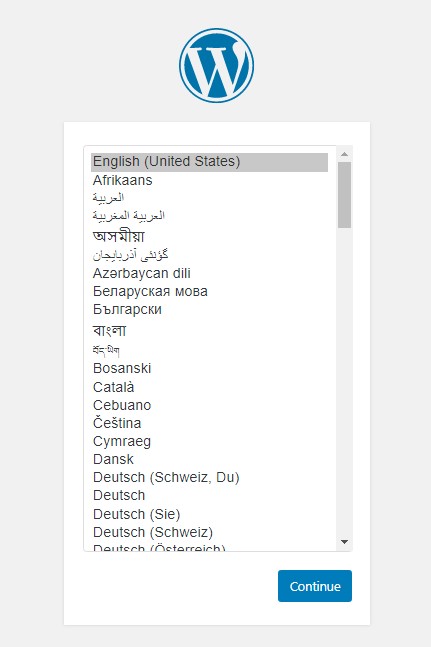
13. Select “English (United States)” and click on Continue button.
14. Below screen will come. Read Instruction carefully and be ready with all required details.
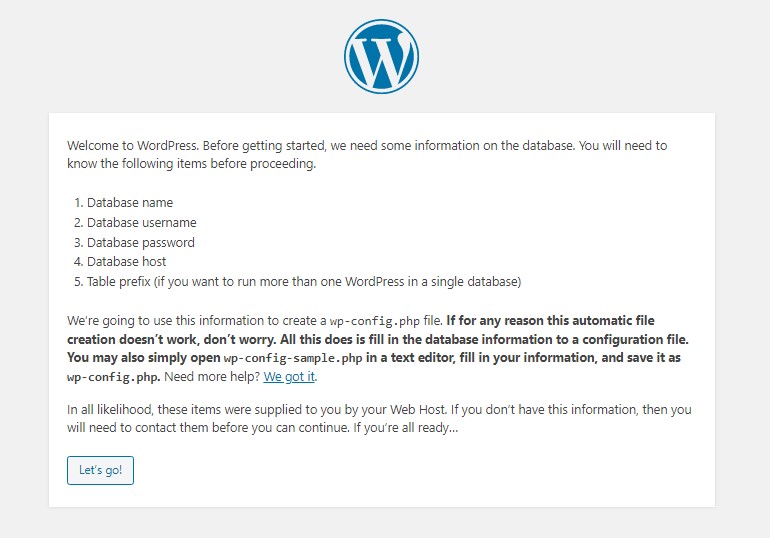
15. Click on Let’s go! button.
16. Here you have to fill all fields.
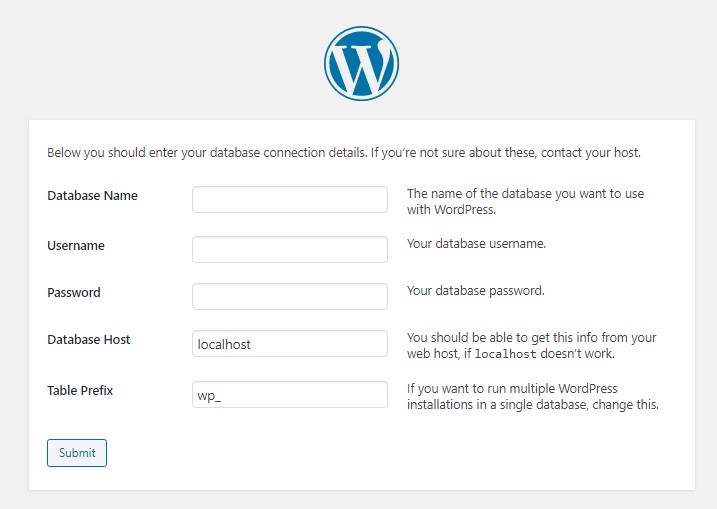
- Database Name : wordpress-tutorial (We have created in above steps)
- Username : root (default name in localhost XAMPP or WAMP)
- Password : (Put this field blank as default no password set in localhost phpmyadmin, Enter if set any)
- Database Host : localhost (Default)
- Table Prefix : wp_ (Default – Basically this will add as table prefix in database. You can choose other but default is best)
17. Click on Submit.
18. You will redirect to below screen.
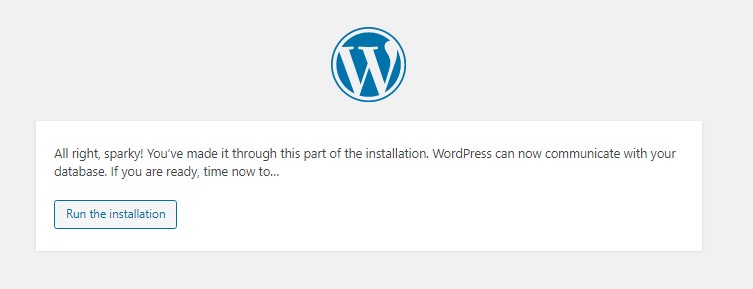
19. Click on “Run the Installation” button.
20. Below screen will come.
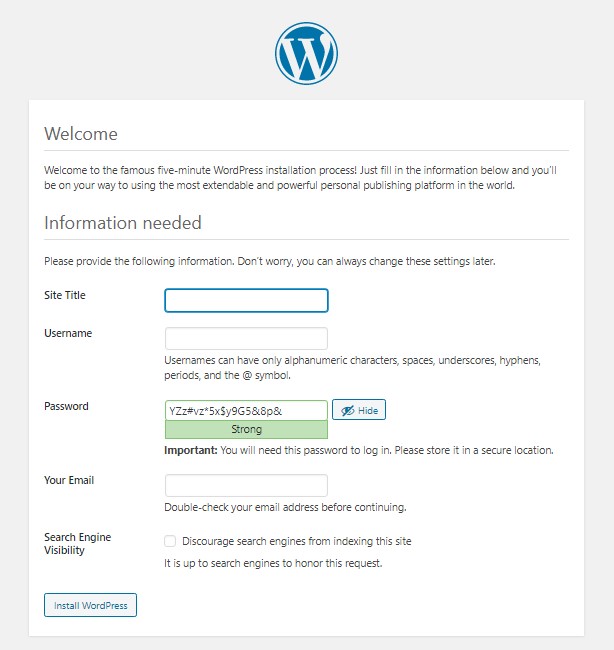
Site Title : Enter Site title for your site you want to use (Don’t worry you can change it later if required).
User name and Password details are required for login to admin panel of wordpress.
Username : enter username your choice for admin login
Password : Enter strong password for admin login
Put Username and Password on safe place that you can remember. These information will required whernever you want to login admin panel.
Your Email: Enter you email
Then click on “Install WordPress”.
21. You will see below screen.
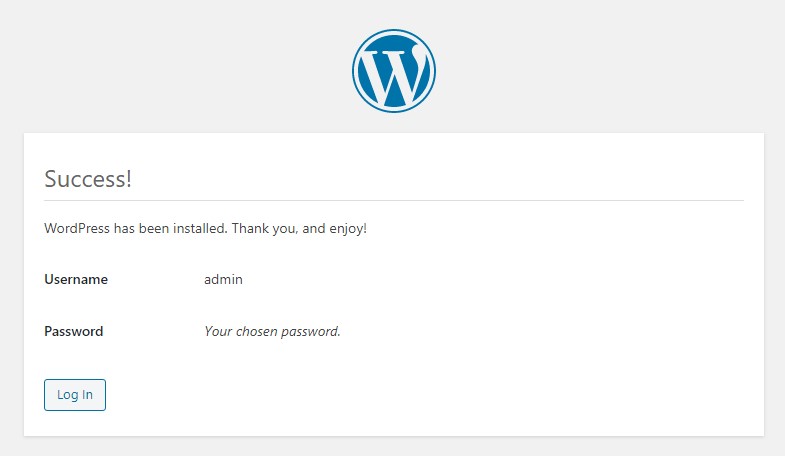
I entere a username admin in above step so here in screen it show admin in Username field.
22. Click on Log in. You will redirected to wordpress admin panel.
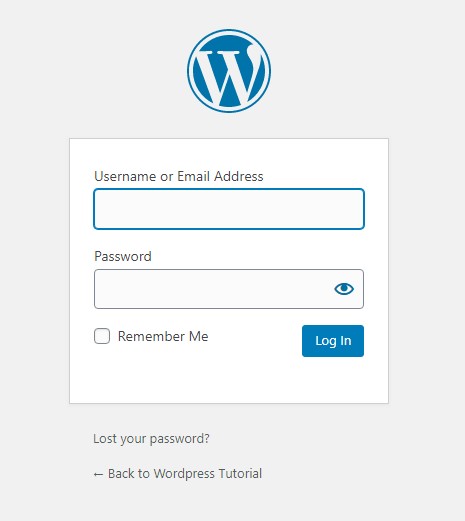
23. Enter Username and Password you set in above steps.
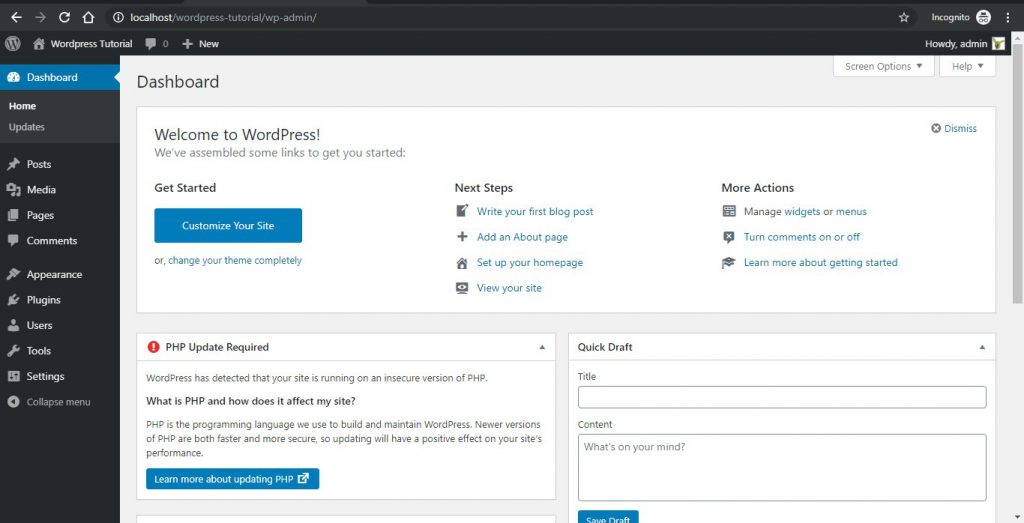
24. You will redirected to dashboard of wordpress.
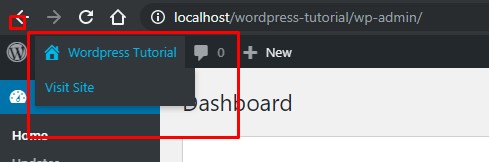
25. To see a front of website mouse over on Home top left icon and click on visit site or go direct to link https://www.webdeveloperguide.in-tutorial/ .
26. It will look like below.
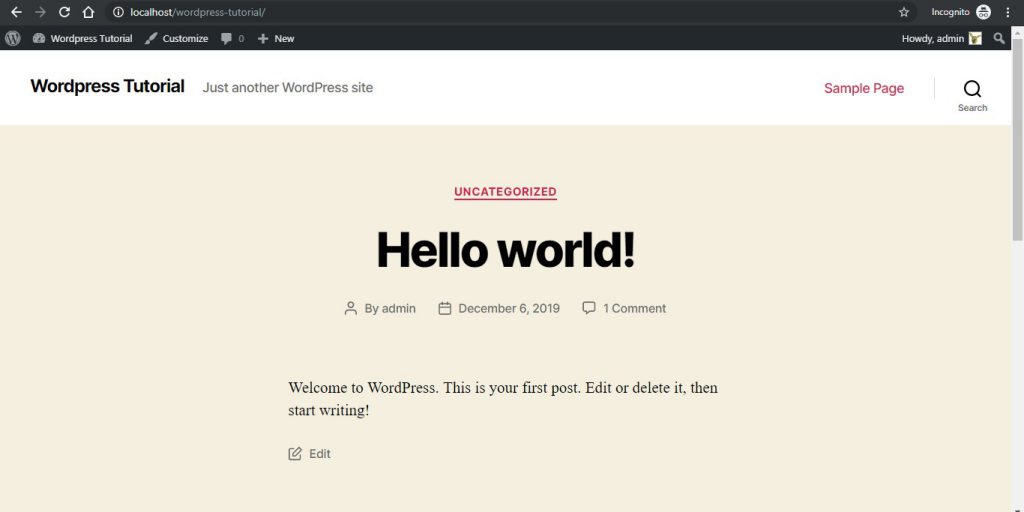
The installation of wordpress is complete now.